Installation Guide for Contest ID, FAA Numbers and Decals
Step 1: Clean the Surface
If applying to gelcoat, clean with Wx Seal or similar. For plastic or glass, use an all-purpose cleaner or window cleaner. Do not apply when the temperature is less than 60° or over 90°.

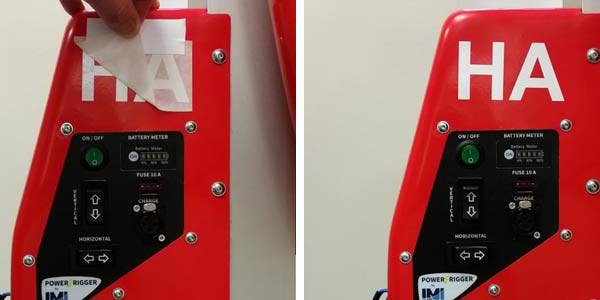
Step 2: Make A Hinge
Apply a line of tape along the top of the decal. Half of the tape goes on the translucent paper, and the other half will be stuck to the surface in Step 3.
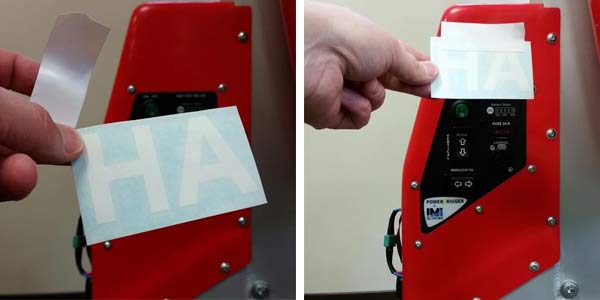
Step 3: Place
Carefully line up and place your decal on the surface. It's easier on large decals to Skip step 2 and place two small pieces of tape on each upper corner then stick to the surface. This way if it's not lined up perfect you can easily remove it. Once satisfied with the position then take a long piece of tape along the top to serve as a hinge. NOTE: If you use a wet installation with a splay bottle, drop of soap and water DO NOT let the decal sit wet for more than 5 minutes. IF left too long the translucent paper will degrade.
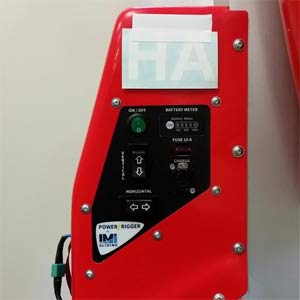
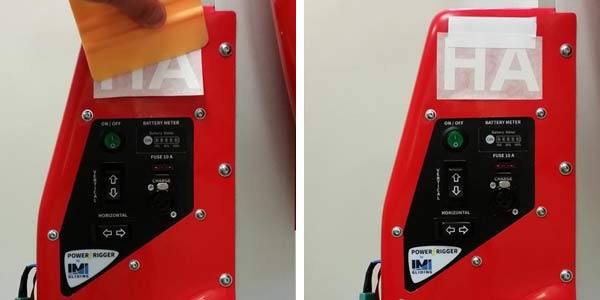
Step 4: Remove Backing
Flip the decal over on the hinge and carefully peel off the backing. Your decal will be left in the translucent paper. Be careful not to let the adhesive on the decal to touch the surface at this point.
Step 5: Apply Decal
Carefully apply pressure and work from the hinge top to the bottom. Using a squeegee is best. Squeegee at a 45-degree angle with overlapping, firm strokes. Now give it a few minutes for the adhesive to grab hold.
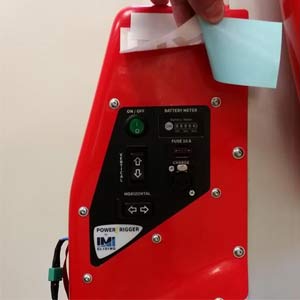
Step 6: Remove Translucent Paper
Carefully pull upwards to remove the translucent tape.